PRO CLAM KIT
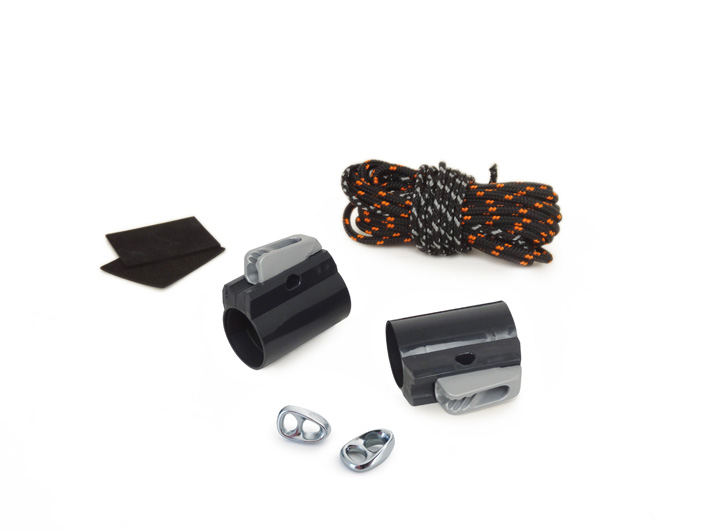
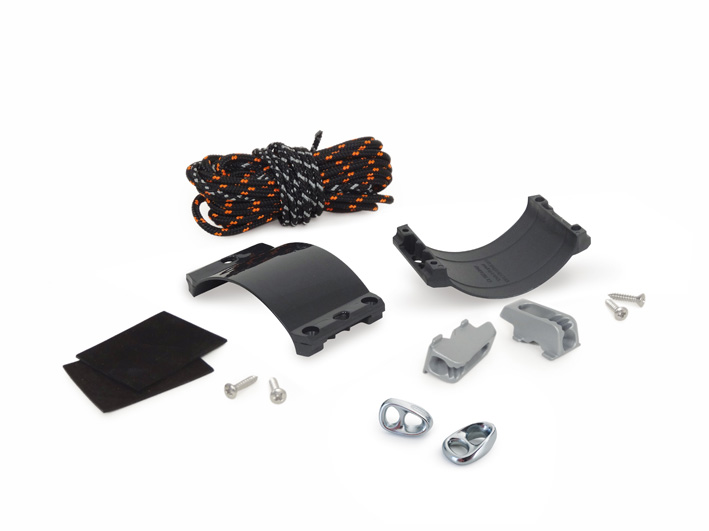
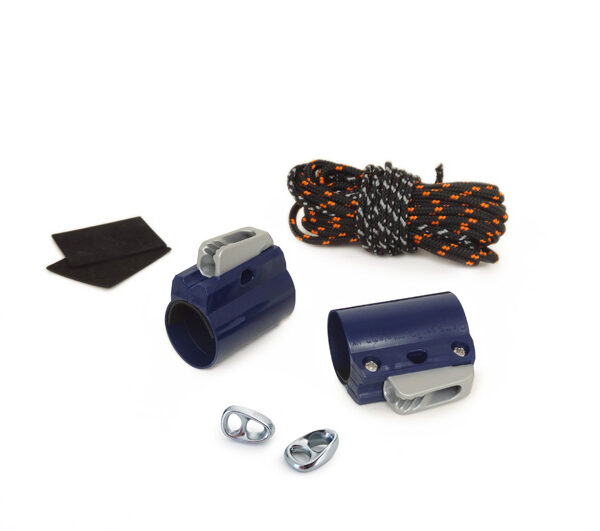
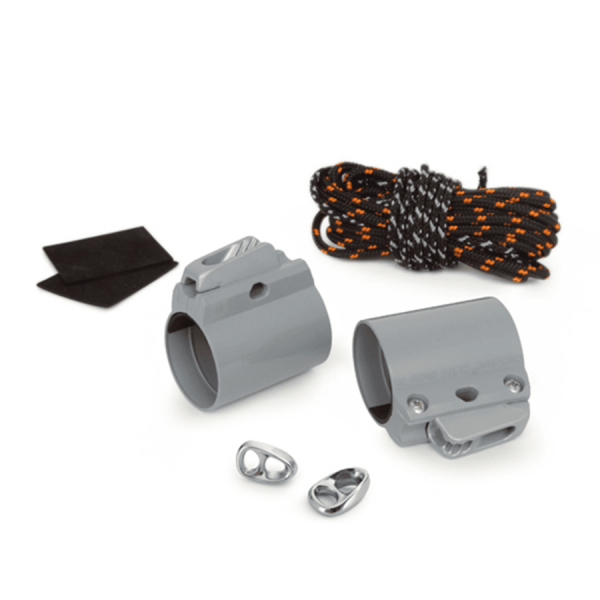
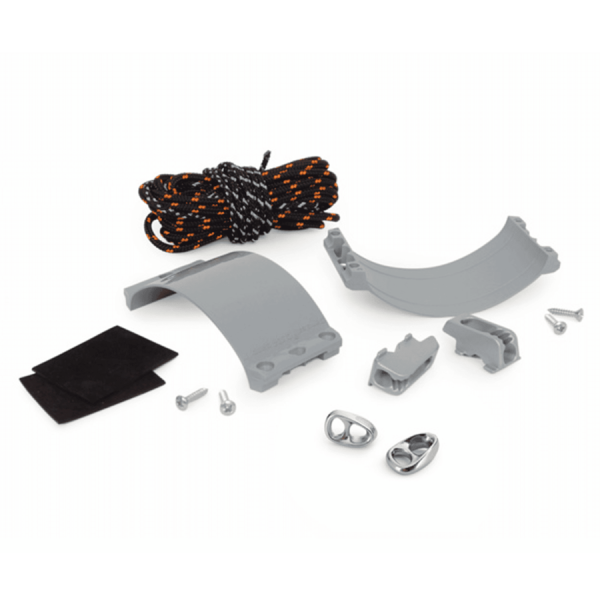
Nautix Pro Clam Outhauling Kit includes :
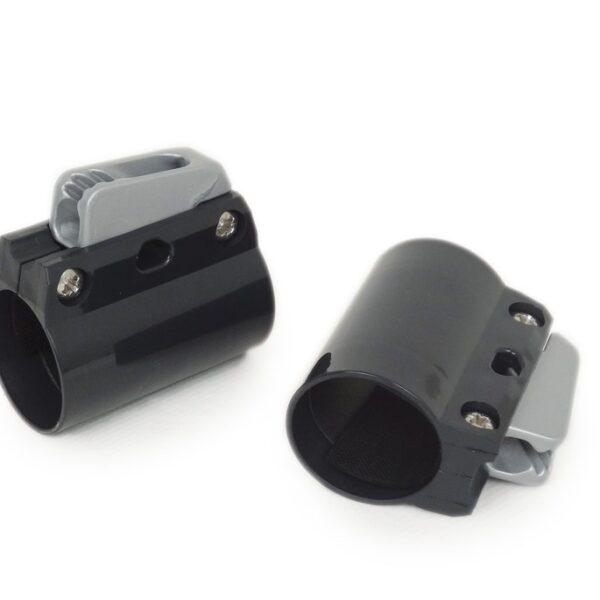
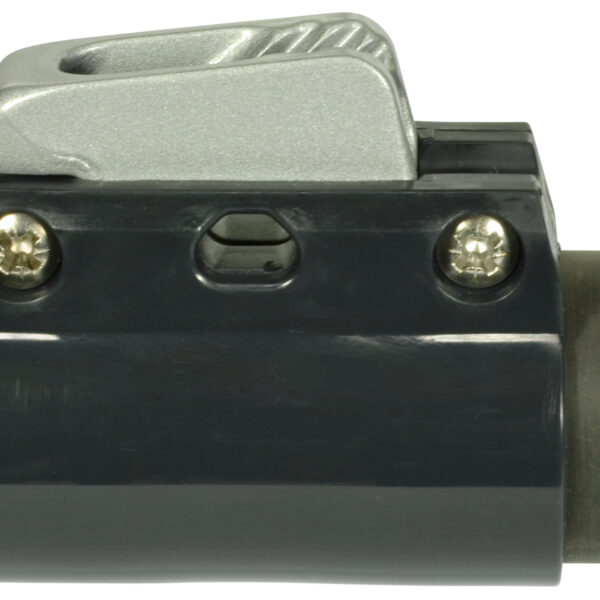
– 2 Clamcleat® CL244 aluminium cleats on ring
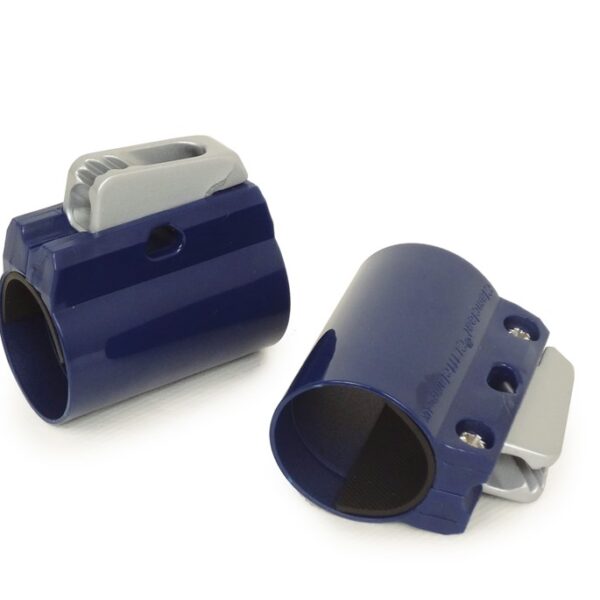
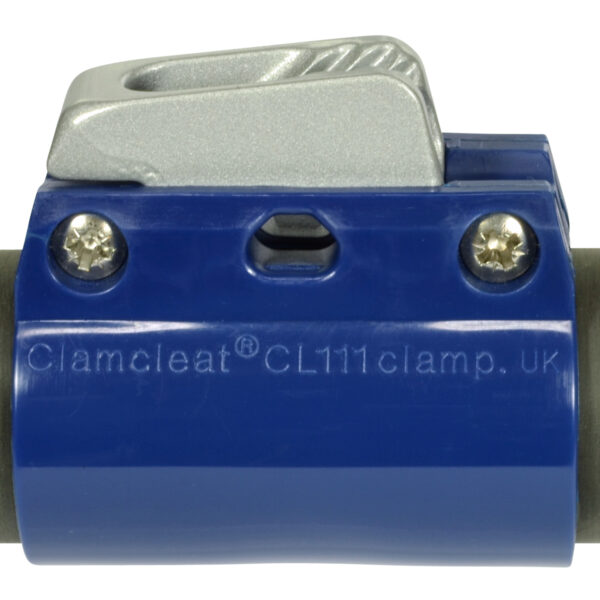
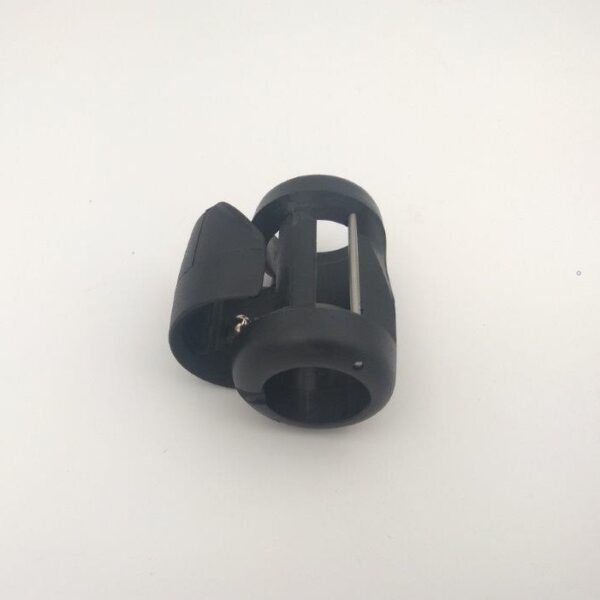
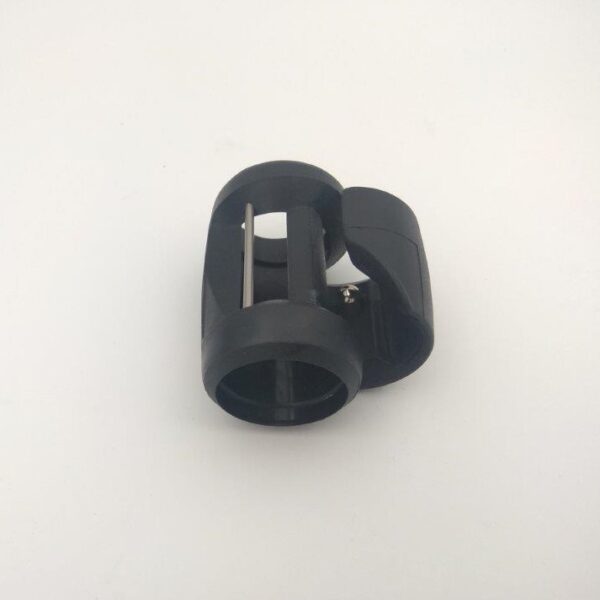
– 2 Clamcleat® CL111 plastic cleat clamp with shims and screws
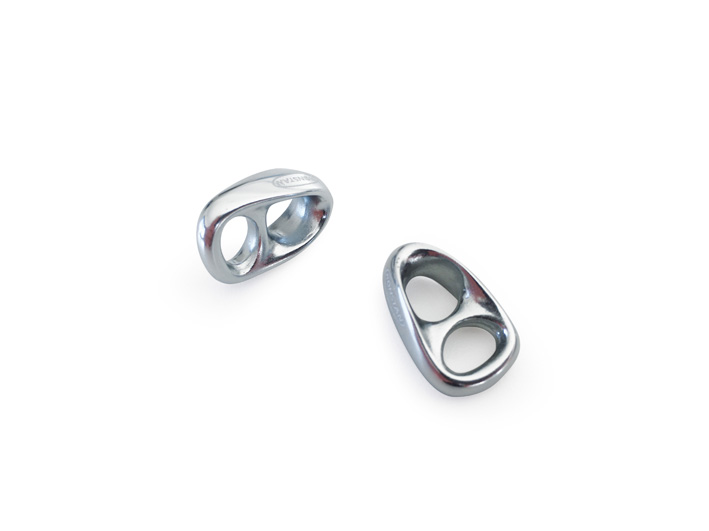
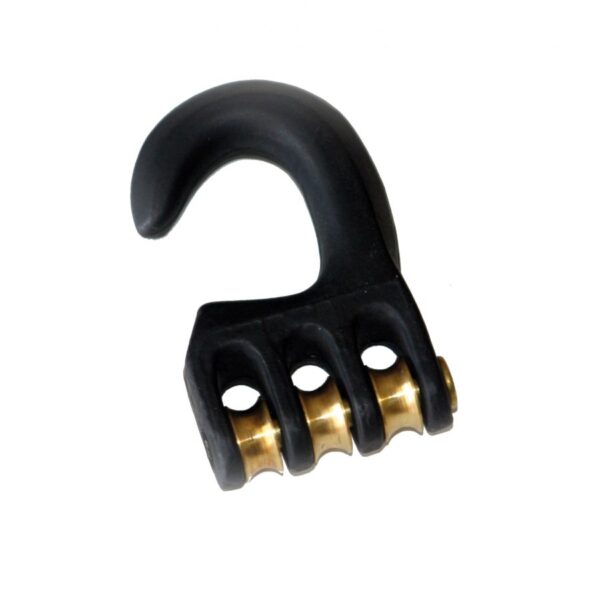
– 2 low friction rings
– Rope Ø 5mm : 2 x 2m – Ø 4mm : 1 x 3m
Technical features :
– Absolute “MUST” for all racers, who want to bring out the best of their race sails.
– The outhaul tension (and sail profile) can be adjusted during sailing, corresponding to the wind and the course, by pulling the adjustment rope.
See below the details for Clam Outhauling kit
DETAILS
Installation guide :
- Align the plastic clamps (CL111) about 20 cm aft of your rear hand position,
- Insert the aluminium cleats (CL244) with teeth facing forward.
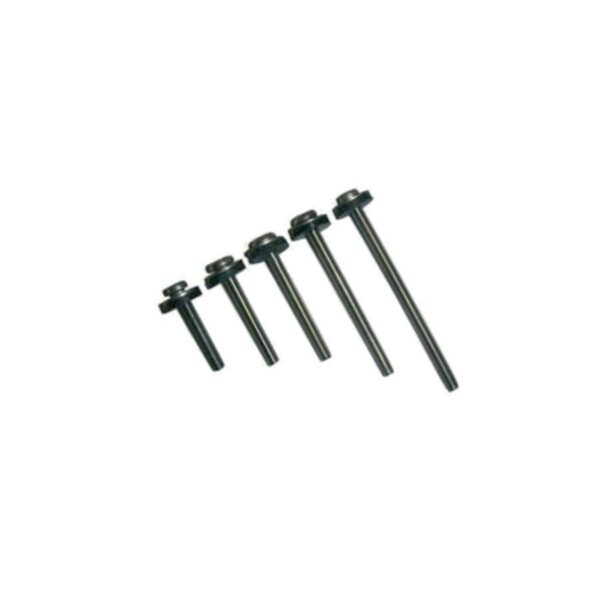
The plastic clamp should not be able to move on the boom arm, and the shims should be used if necessary. - Screw the assembly together with the screws provided.
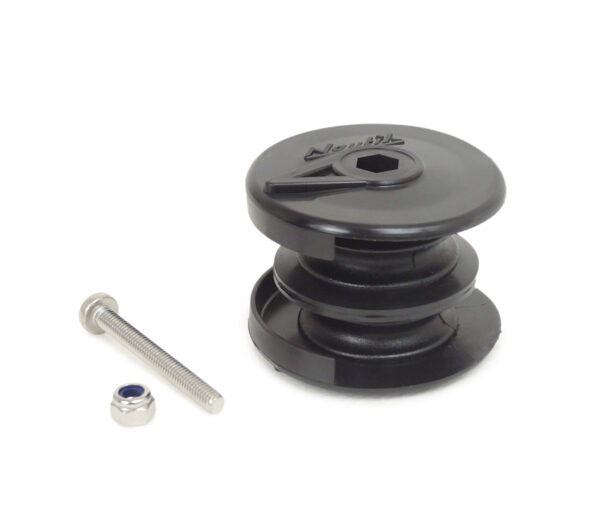
- Take the 3m length of 4mm line, and secure one end to one pulley with a bowline. Thread the rope through the pulleys at the boom end and through the eyelet of the sail as per the picture.
2 options : • Option 1: 2 pulleys for use directly with the eyelet of the sail
OR • Option 2: 3 pulleys for greater advantage on the sail but requiring the addition of a double pulley block on the eyelet. - Tie the other end of the line with a bowline to the remaining pulley.
NOTE: When de-rigging your sail, the entire assembly should be left on the boom. Only one of these bowlines needs to be undone in order to remove your boom from the sail. - Finally, take one of the 2m lengths of 5mm line, and tie a figure-eight knot in one end. Pass the rope through the hole in the plastic cleat clamp, through the pulleys on the end of the 4mm line, and back through the cleat. Tie another figure-eight knot in the end of the rope to prevent you from losing it while sailing!
- Repeat procedure on the other side of the boom.



Avaliações
Ainda não existem avaliações.